
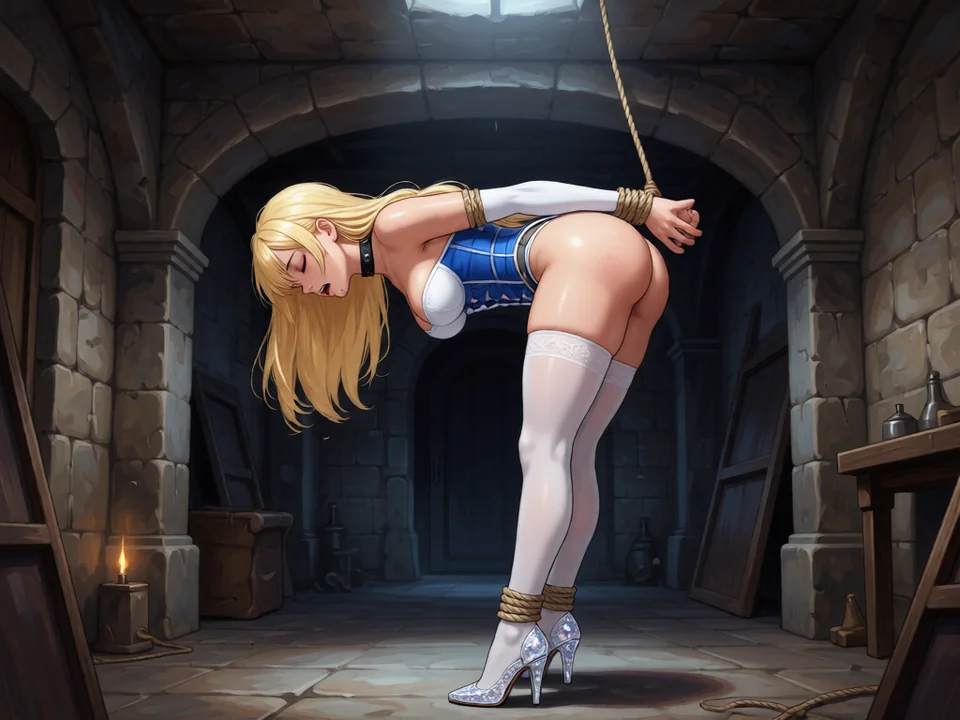
There is a specific kind of frustration that comes with a near-perfect render. You’ve spent quite some time tweaking a prompt for a complex yuri scene or a dynamic action shot, and the composition is exactly what you wanted, but the actual image looks like it’s being viewed through a layer of grease. The lines are soft, the skin textures are mushy, and the eyes, which should be the sharpest part of the image, are a noisy, unfinished mess.
In the 2026 meta, where we are mostly pushing Pony Diffusion XL or Illustrious to their absolute limits, “blur” isn’t just a mistake. It’s a symptom. It’s the hentai AI telling you that the diffusion process didn’t have enough room, time, or guidance to actually land on a final pixel arrangement. To fix it, you have to stop treating these settings like separate sliders and start seeing them as a single, interconnected pipeline.
The Refinement Gap: Why Steps Matter More Than You Think
Let’s start with the most obvious culprit: Sampling Steps. Most people think of steps as a quality slider, but that’s a misunderstanding of how diffusion works. Diffusion is a process of subtraction; the AI starts with a box of static and tries to subtract the noise until an image appears.
If you stop at 20 or 25 steps, the AI has finished the sketch, but it hasn’t finished the polish. You end up with what we can call the Unfinished Edge. This is especially brutal in hentai because the genre relies on sharp, high-contrast cel-shading. If the AI doesn’t have enough steps to define where a line ends and a shadow begins, it just averages the two, resulting in that blurry, painterly look that kills the anime aesthetic.
The Fix: You need to push your steps into the 35 to 45 range for anything you intend to keep. While faster samplers like DPM++ 2M Karras are efficient, they still need those final ten iterations to settle the fine details of hair strands and skin specularities. If you’re seeing blur, don’t just add more words to your prompt; give the AI five more steps to think.
The Native Resolution Trap
This is the single most common reason for soft renders. Every model has a native resolution it was trained on. For Pony XL, that’s roughly 1024×1024 (or about 1 million total pixels).
If you try to generate at 512×512, you aren’t giving the AI enough screen space to draw things like eyelashes or intricate lace. The AI is literally trying to draw a complex eye using only a 10×10 grid of pixels. It’s physically impossible for it to be sharp. On the flip side, if you try to generate natively at 2048×2048, the AI gets confused and starts duplicating body parts.
The Hires Fix Strategy: The only way to win this battle is to generate at a medium resolution, like 832×1216, and then immediately run it through Hires Fix.
This is where the real quality happens. By upscaling the image by 1.5x or 2.0x and setting the denoising strength to 0.4, you’re giving the AI a second chance to repaint the image on a much larger canvas. This is the moment when the “mush” disappears and is replaced by razor-sharp linework. If your denoise is too low (under 0.3), the image stays blurry. If it’s too high (over 0.55), the AI starts adding extra limbs. You have to find that sweet spot where the AI is refining, not reinventing.
The CFG Scale and the Halation Problem
CFG (Classifier-Free Guidance) is your “Strictness” dial. Most users think that if an image is blurry, they should just crank the CFG up to 12 or 15 to force the AI to be sharper.
This is a mistake. High CFG causes Halation; that weird, glowing white line around the edges of your characters. It also burns the colors, making them look neon and jagged. Ironically, this over-sharpening often reads as “blur” to the human eye because it loses all the subtle shading that makes an image feel three-dimensional.
For Pony XL, you want your CFG between 6.5 and 7.5. If the image feels soft at 7.0, the problem isn’t the scale but your Prompting Style.
Prompting for Sharpness (Score Logic)
In 2026, we don’t just use words like “beautiful” anymore. We use Score Tags. If you aren’t leading your prompt with score_9, score_8_up, score_7_up, you’re essentially asking the AI to look at the average part of its memory.
The AI’s brain is filled with millions of low-quality web-scrapes and blurry forum posts. By using score tags, you’re forcing the model to only access the cluster of its memory that contains high-resolution digital illustrations.
The Positive Reinforcement Layer: Beyond scores, you need to use technical descriptors. Words like sharp focus, intricate linework, masterpiece, and bold outlines act as anchor points for the AI. They tell the model to prioritize high-frequency details (the sharp stuff) over low-frequency details (the blurry stuff).
In your Negative Prompt, you have to be even more aggressive. You need to reject the blur by name: (blurry, lowres, soft focus, out of focus, jpeg artifacts, noise, grainy:1.3). That 1.3 weighting is vital because it’s you telling the AI that a blurry image is a failure state.
The VAE: The Invisible Color Correction
Sometimes, you can have the perfect settings and the perfect prompt, and the image still looks grey or flat. This is often a VAE (Variable AutoEncoder) error.
The VAE is the part of the AI that translates the latent math back into an actual image. If you’re using an older SD 1.5 VAE with a modern Pony XL model, the colors will always look washed out and the edges will always look fuzzy. Make sure you are using a dedicated SDXL/Anime VAE. It acts like a sharpening filter and color grader all in one, instantly making the skin look more vivid and the lines look more distinct.
Troubleshooting the Loop: A Step-by-Step Recovery
If you’re staring at a blurry render right now, don’t just re-roll. Walk through this checklist:
- Check the Sampler: Are you using a “Karras” scheduler? If not, switch to DPM++ 2M Karras. It is significantly better at maintaining sharp edges in anime styles.
- Check the Resolution: Are you starting too small? If you’re under 800px on either side, you’re asking for mush.
- Check the Hires Fix: Is your denoise set to 0.4? Is your upscaler set to 4x-UltraSharp or R-ESRGAN 4x+ Anime6B?
- Check the “Score” Tags: Did you forget to tell the AI that this is a Top Tier render? Lead with the score tags.
- Check for Realistic Bleed: If the skin looks photographically soft, add realistic, photorealistic to your negatives and cel shaded, 2d, illustration to your positives.
The Final Polish: External Upscaling
Sometimes, even a perfect 2048×2048 render isn’t sharp enough for a 4K monitor. This is where tools like Aiarty or AVCLabs come in. These are external AI Enhancers that take your finished image and run one final, massive de-noising pass. They can reconstruct hair strands and eye glints that even Stable Diffusion struggled with.
Summary
Blur isn’t a single setting you can turn off. It’s the result of an under-refined pipeline. By increasing your Steps, nailing your Hires Fix settings, and using Score-based prompting, you move from generating sketches to generating masterpieces. The goal is to give the AI the time, space, and specific instructions it needs to render every curve, every highlight, and every line with the razor-sharp precision that high-end hentai demands.
So stop settling for “mush.” Tweak the pipeline, lock the seed, and watch the details emerge.