
In the world of AI art, there are two main ways to bring your vision to life: starting from a blank page or starting from an existing image. While most people begin their journey with Text-to-Image (txt2img), the real pro secrets, especially for maintaining character consistency and fixing those annoying anatomical errors, happen in Image-to-Image (img2img).
If text-to-image is like describing a scene to a master artist, image-to-image is like handing that artist a rough sketch and telling them exactly what to fix. By 2026, the gap between a casual user and a serious creator is defined by how well they can navigate the transition between these two modes.
Text-to-Image: The Spark of Creation
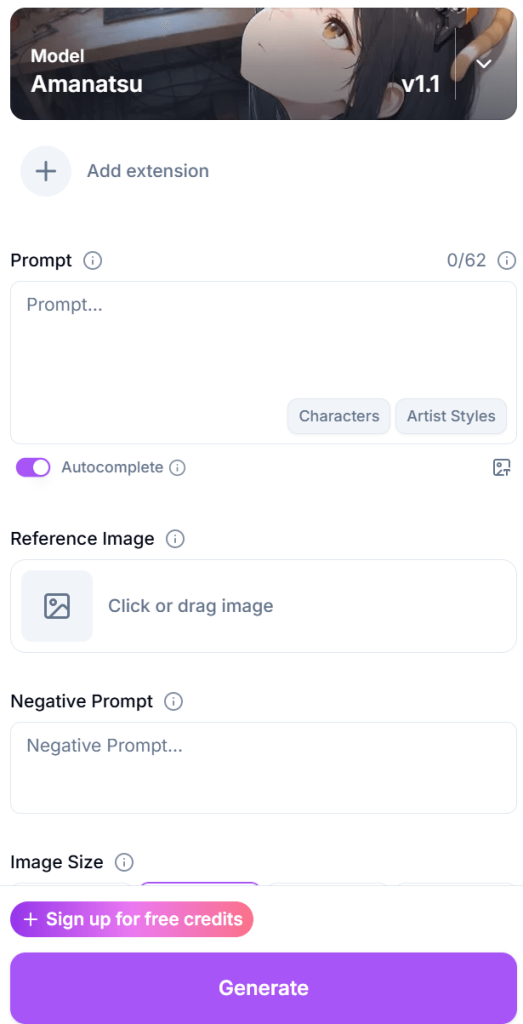
Text-to-image is the foundation of almost everything you see on platforms like BetterWaifu. You provide a set of tags such as 1girl, solo, cinematic lighting, masterpiece, and the AI hallucinates an image from random noise.
Think of it as the Brainstorming Phase.
- The Advantage: It is the ultimate tool for speed. You can generate a hundred different ideas, characters, and settings in minutes just by changing a few words. You aren’t limited by what currently exists; you are only limited by your vocabulary.
- The Limitation: It can be chaotic. If you get a character you love but want to change their pose slightly, hitting “generate” again with a new prompt will likely give you an entirely different person. This “RNG” (random number generation) factor makes it very difficult to build a coherent story or a gallery of the same character.
Image-to-Image: The Refinement Engine
Image-to-image takes an existing image as its base instead of starting with random noise. It uses the shapes, colors, and composition of your original file to guide the generation of a new one. This is the Production Phase.
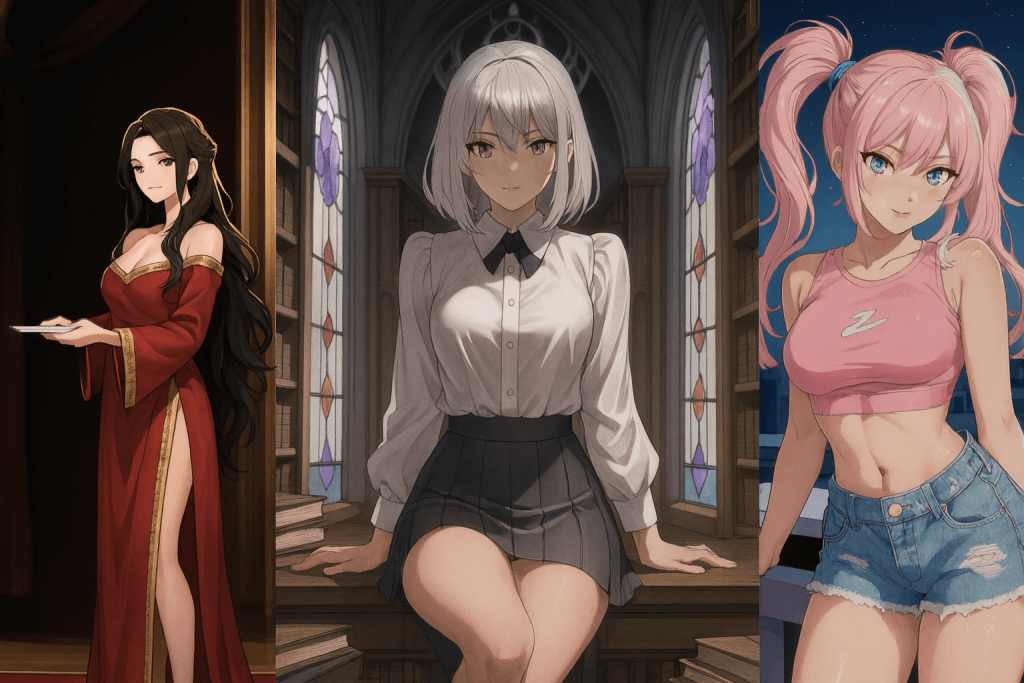
- The Consistency Secret: This is how creators keep characters looking the same across multiple scenes. By using an image of your character as the source for the next generation, you ensure the AI keeps the same hair color, eye shape, and facial structure.
- The Anatomy Fix: Have a great generation where the face is perfect but the hands are a mess? Img2img allows you to take that image into a basic editor, scribble a rough correction over the broken hand, and then run it back through the AI to render the fix into the final style.
Mastering the Denoising Strength Toggle
The most important tool in your img2img arsenal is the Denoising Strength slider. This tells the AI how much it is allowed to deviate from your original image.
- Low Denoising (0.1 – 0.3): The AI will make very minor changes. This is perfect for upscaling an image or adding a bit more detail to the hair and textures without changing the pose.
- Medium Denoising (0.4 – 0.6): This is the Sweet Spot. The AI will change the style or specific features but keep the overall pose and composition. You can use this to change a character’s outfit while keeping them in the exact same position.
- High Denoising (0.7 – 0.9): The AI treats your image as a very loose suggestion. It might change the character entirely while keeping the basic color palette of the original.
Targeted Surgery with Inpainting
One of the most powerful sub-features of img2img is Inpainting. Instead of regenerating the whole image, you mask (paint over) a specific area, like a hand with too many fingers, and tell the AI to redraw only that part.
In a professional 2026 workflow, inpainting is often done in multiple passes. You might inpaint the face at a low denoising strength to perfect the expression, then inpaint the background at a higher strength to add more detail. It’s like having a digital eraser that replaces mistakes with high-res art that matches the rest of the scene perfectly.
ControlNet: The Bridge Between Worlds
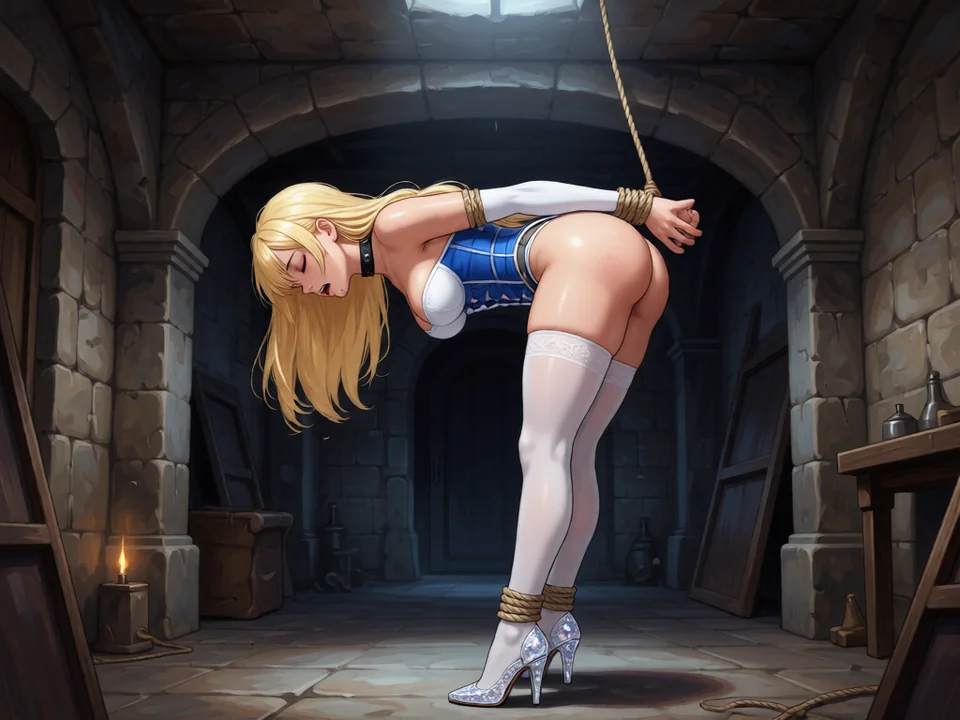
If img2img is about the colors and shapes, ControlNet is about the structure. ControlNet allows you to use a separate reference map, like a skeleton (OpenPose) or a line drawing (Canny) to force the AI to follow a specific structure.
- Why it matters for Hentai: It solves the “impossible pose” problem. You can provide a 3D-posed skeleton, and the AI will build your character on top of that skeleton, ensuring the anatomy stays 100% correct. This takes the guesswork out of the generation and gives you total control over the action.
The Infinite Loop Workflow
The best creators don’t just pick one method; they live in a loop that looks like this:
- Step 1 (txt2img): Generate a concept image to find a character design you like.
- Step 2 (img2img): Take that concept and upscale it using a low denoising strength to add crisp details.
- Step 3 (Inpainting): Fix the hands, eyes, or any clipping issues with the clothing.
- Step 4 (Outpainting): If the character is cut off by the frame, use outpainting to grow the background and reveal the rest of the scene.
Beyond the Basics: Batch Processing and Consistency
When you’re working on a larger project, like a comic or a multi-image gallery, the transition to img2img becomes even more critical. In 2026, advanced users utilize Batch img2img. This allows you to take a 3D-animated sequence or a series of rough sketches and re-skin them all at once using the same AI model and prompt.
This ensures that the lighting, the skin tones, and the line-art style remain identical across twenty different images. Without this, your project would look like a collection of random art; with it, it looks like a professional production.
The Technical Why: Latent Space and Guidance
To truly understand the difference, you have to understand what’s happening in the “Latent Space”. In text-to-image, the AI is navigating a vast, empty map looking for a specific coordinate based only on your words. In image-to-image, you are giving the AI a starting coordinate.
This is why img2img results often feel sharper or more coherent. The AI isn’t struggling to figure out where the head is or where the floor starts; it already has that information from your source image. It can spend all of its computational energy on the details (the textures, the shadows, and the anatomical precision), rather than the basic layout.
Which One Should You Choose?
So, which one is better? The answer is: Neither. They are two halves of the same whole.
- Use Text-to-Image when you want to be surprised. Use it when you are looking for that “lightning in a bottle” moment where the AI creates something better than you could have imagined.
Use Image-to-Image when you want to be the boss. Use it when you have a specific vision that can’t be left to chance.