
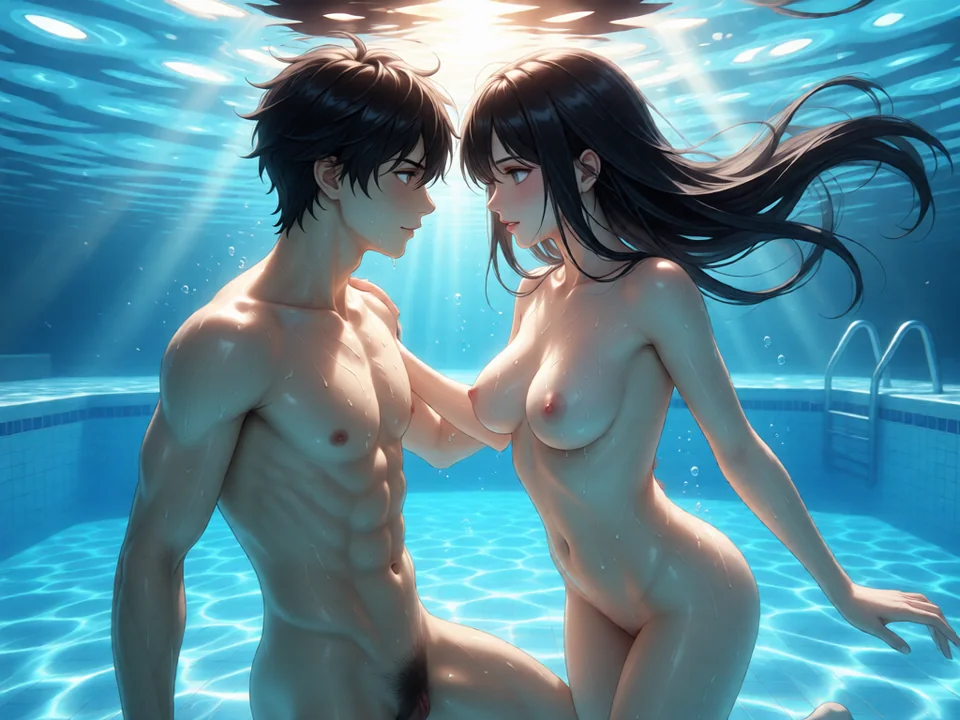
If we are going to talk about high-fidelity generation in 2026, we have to move past the idea that these sliders are just quality presets. They are, even more, the mathematical boundaries you impose on the AI. In the AI hentai community, where we are often pushing for extreme anatomy or very specific, intertwined interactions, the margin for error is razor-thin. If your resolution is off by 100 pixels, or your CFG is too aggressive by a single point, the latent space collapses, and you end up with a mess of deep-fried colors or fused limbs.
To get that crisp, professional-grade doujinshi feel, you need to understand the relationship between the canvas size, the iteration count, and the prompt-following weight.
Resolution: The Architecture of the Latent Space
Resolution isn’t just about the size of the final image; it’s about the buckets the AI was trained on. Every model has a memory of specific dimensions. When you try to force it outside those dimensions, the AI’s imagination gets stretched. This is the primary reason why beginners get two-headed characters or bizarrely long torsos.
The SDXL and Pony Sweet Spot”
In 2026, the meta is dominated by Pony Diffusion XL and its various merges (like Better Pony or NoobAI). These are SDXL-based, which means they are native to roughly 1024×1024 pixels. However, a perfect square is rarely what you want for a dynamic hentai scene.
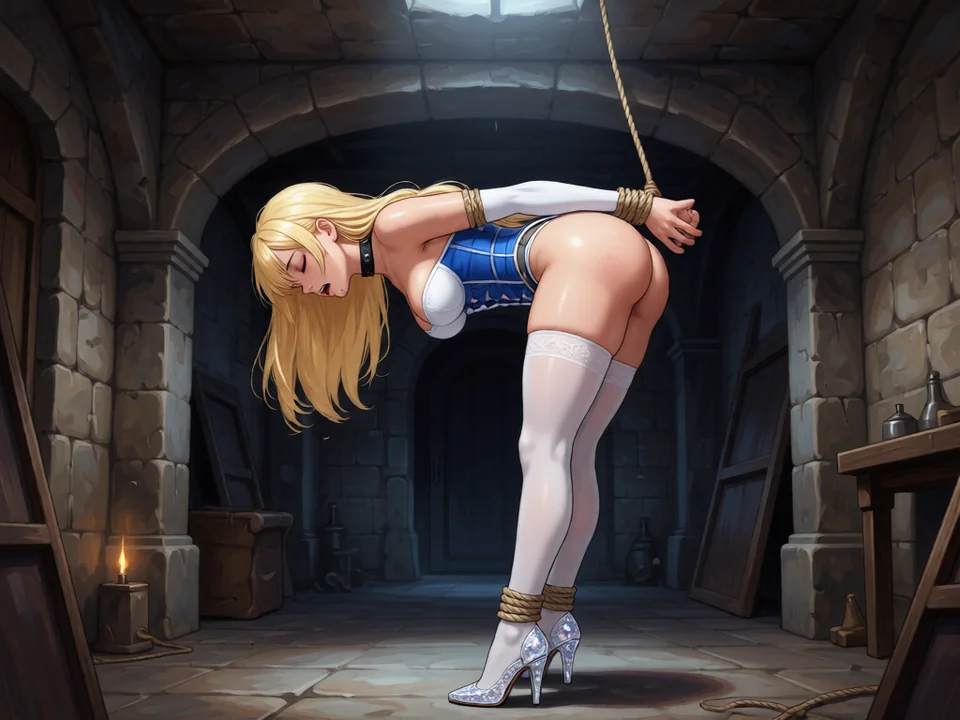
- Portrait Mastery (832×1216): This is the gold standard for character-focused art. Why these specific numbers? Because they sum up to roughly 2048 pixels total, which matches the latent bucket the model understands most clearly. It provides the vertical room for a cowboy shot or a full-body pose without the AI feeling the need to fill empty space with a second head or a floating limb.
- Landscape and Harem Shots (1216×832): When you’re dealing with group scenes, tentacles, or wide environments, you need horizontal breathing room. If you try to cram three characters into a 512×512 box, the AI will inevitably fuse their bodies together. This wider resolution forces the model to distribute the attention across the frame.
The Resolution/VRAM Trade-off
Higher resolutions allow the model to render micro-details; the glint in an eye, the texture of a latex outfit, or precise anatomical details. But there is a ceiling. If you go too high natively (say, 1536×1536), you hit two walls:
- VRAM Limits: Most consumer cards will OOM (Out of Memory) or slow down to a crawl.
- Model Hallucination: Even if your card can handle it, the AI will start duplicating elements because it doesn’t have a global understanding of how to fill that much space.
The Human Solution: The Hires Fix Pipeline
This is the only way to get 4K quality without breaking the composition. You generate your compositional sketch at 832×1216. Once the pose is locked, you run Hires Fix. You aren’t just blowing the image up; you are running a second pass of diffusion on a larger canvas. By setting the denoising strength to 0.35–0.5, you’re telling the AI: “Don’t change the pose, but use these extra pixels to add sharp lines and intricate shading.”
Sampling Steps: The Iterative Carving Process
Sampling steps are effectively the time the AI spends looking at the noise and trying to find an image in it. If you’ve ever looked at a noisy TV screen and started to see shapes, you’ve done a basic version of what the AI does.
The “Denoising” Curve
The first 10 steps of any sampler are the heavy lifting. This is where the AI decides where the character is, what they are wearing, and where the background sits. By step 20, the image is mostly formed but will look mushy or soft.
- 28–35 Steps (The Efficiency Zone): For most Karras samplers (DPM++ 2M Karras, for example), this is where the image converges. Any steps beyond this provide diminishing returns. You might see a slight shift in a hair strand or a shadow, but you’re essentially just burning GPU time for a change that the human eye won’t notice.
- 40–60 Steps (The Detail Push): You only go here when you have a massive prompt with a dozen LoRAs and complex lighting. If you’re asking for “rim lighting, volumetric fog, intricate lace, and sweat beads,” the AI needs those extra steps to untangle the noise and place those specific details.
Sampler Pairing
Your choice of sampler dictates how many steps you need.
- Euler a: This is a stochastic sampler. It adds noise back into the image at every step. This makes it very creative but also prone to shifting the image significantly if you run too many steps. Keep it around 20–30.
- DPM++ 2M Karras: This is the current industry standard in 2026 for a reason. It is incredibly stable. Once it finds a face it likes, it won’t change it; it will just get sharper. It excels in the 30–40 step range.
CFG Scale: The Guidance Weight
CFG (Classifier-Free Guidance) is the most misunderstood slider in the UI. It is the tension between your prompt and the AI’s base training.
The Sweet Spot Paradox
If you set CFG to 1.0, the AI ignores you completely and gives you a random good-looking image. If you set it to 15.0, the AI tries to follow every single word with 100% literalism, which results in “color burn” and fried textures.
- Pony/SDXL Range (5.0–8.0): Modern models are finely tuned. They don’t need to be shouted at. A CFG of 7.0 is usually enough for the model to understand your intent while keeping the shading natural.
- The Problem with High CFG: When you push CFG above 10, the AI starts over-saturating the pixels. Shadows become pitch black, and highlights become pure white. This is often what gives AI art that cheap, over-processed look. In hentai, this is a disaster because it ruins the soft skin textures and creates harsh, jagged lines.
When to Tweak the Scale
- Drop the CFG (5.0–6.0): If your scene is incredibly crowded or the lighting is getting too harsh. Lowering the CFG allows the AI to blend elements more naturally.
- Raise the CFG (8.0–10.0): If you are using a very specific LoRA or a difficult prompt that the AI is ignoring. If you want “glowing blue eyes” and it keeps giving you brown, nudge the CFG up.
Summary of the High-End Pipeline
Mastering these three settings is what separates the people who spam the generate button from the people who actually craft art. You start with the right Resolution bucket (the canvas), you give the AI enough Steps to polish the score (the refinement), and you dial in the CFG (the guidance) to ensure the AI listens without getting aggressive.
Once you have these locked in, the AI-ness of the image starts to fade, and you’re left with something that looks genuinely hand-crafted. It’s all about working with the model’s training, not against it.